Annotating
What will be annotated.
Once you’ve defined your TaskDefinition, you and any other annotator will be taken to the annotation view. Behind the scenes, LightTag will automatically choose the next Task to do, based on what the annotator has already completed and the specifications of the TaskDefinition.
The Annotation View
Basic Annotating
The Annotation view will always display the Task to be done now. In the center of the screen you’ll see the text to be annotated, to its right the list of Tags from the tasks Schema and a few buttons.
Selecting a Tag
A Tag can be selected by either double clicking on a tag or pressing the keyboard shortcut shown next to the tag.
Selecting a tag
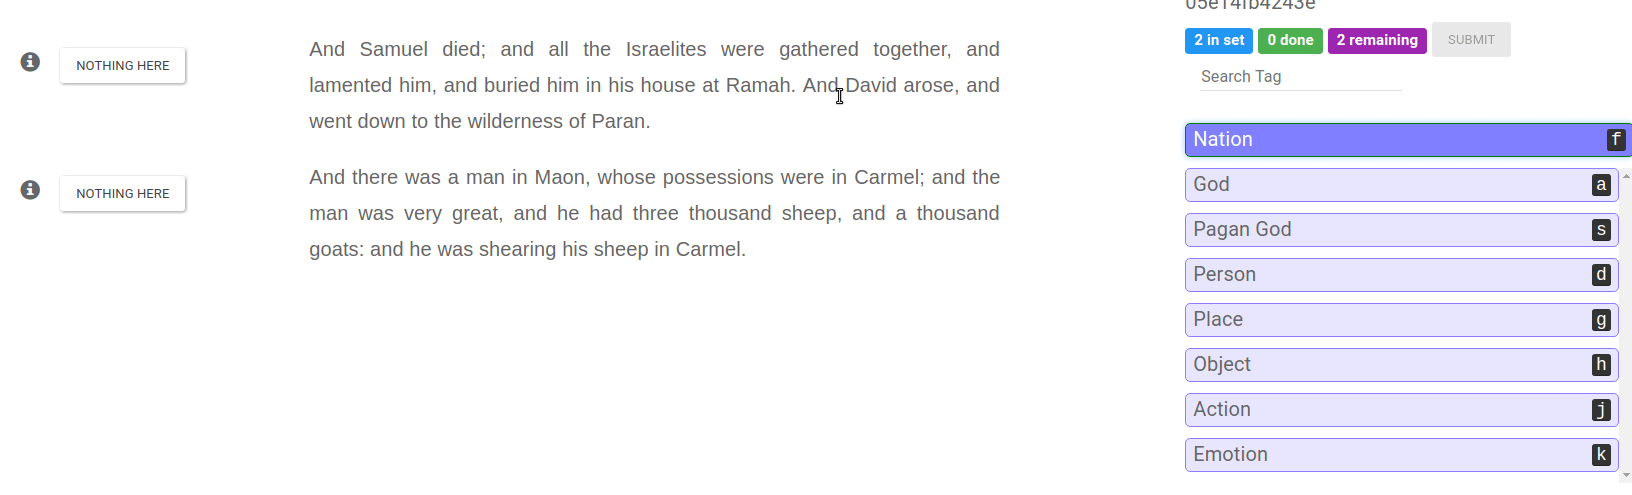
The currently selected Tag will be at the top of the list with a darker blue background.
You can deselect a tag by pressing the ESC key
Applying a Tag
With the keyboard
Use the arrow keys (
←→) on your keyboard to navigate the text.Hold down the
shiftkey and continue navigating the text to highlight the text you’d like to annotate.Use keyboard shortcuts or the mouse to select the Tag you’d like to apply
Press
Enteror Click on the selection to apply the Tag
Selecting a tag
Attention
Holding downCtrlwhile pressing←→will jump to the next word, making your navigation faster

Pressing Ctrl makes selection faster
With the mouse
You can also select the span of text to annotate with mouse. * Select the Tag you want to apply * Click and hold at the start of the text to be annotated * Drag the mouse to select the text you want to annotate. * The annotation will be applied *If you’d like to annotate a single word, double click on it and the annotation will be applied
Annotate with the mouse by selecting a span or double clicking on a word
Removing an Annotation
Sometimes we make mistakes. Removing an annotation is simple, just click the red X on it.

Remove an annotation by clicking on the red X
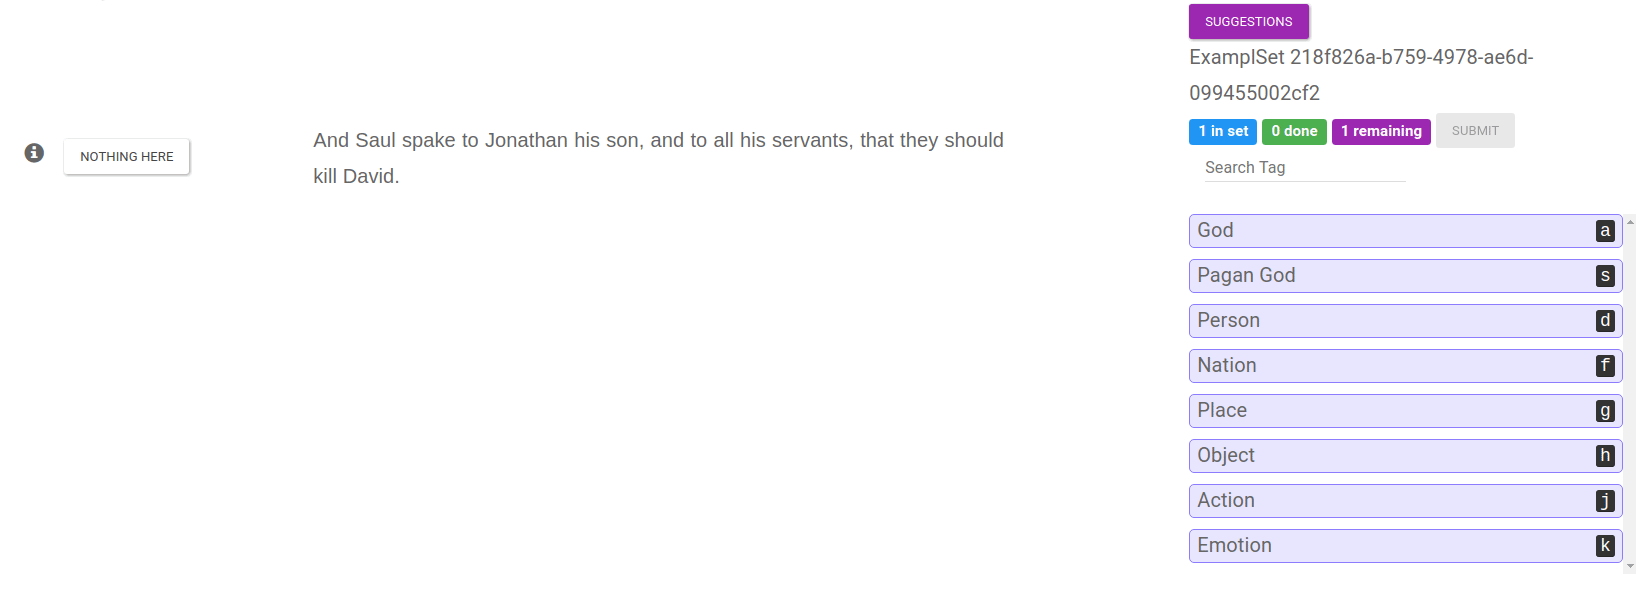
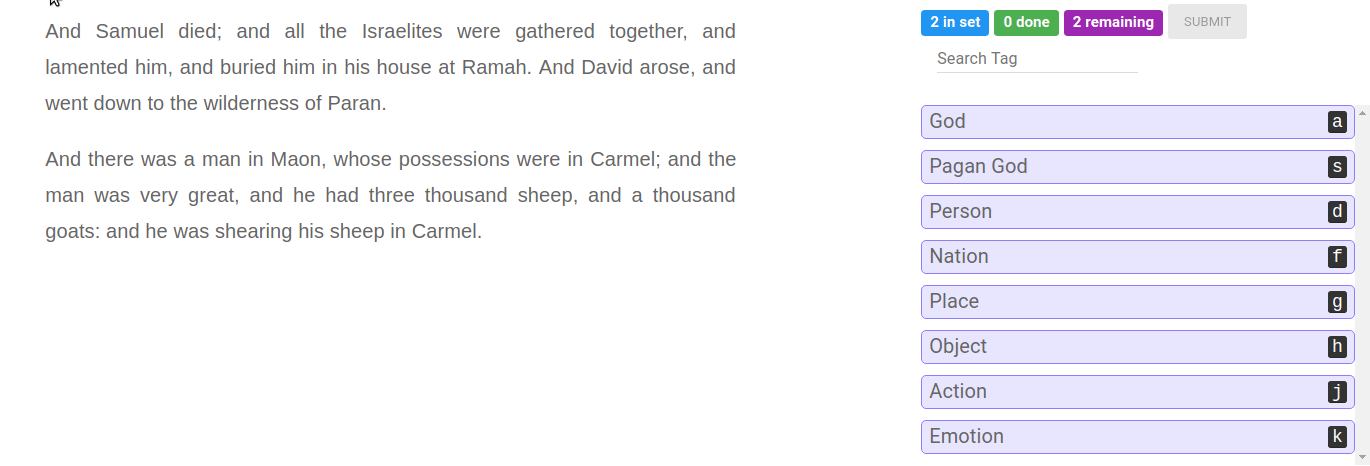
Marking an Example as Done and Submitting
LightTag asks annotators to commit to an example being completed annotated. Annotators make this commitment by clicking Done. If there was nothing to annotate in a particular example, then the button will say Nothing here.
Pressing Done and submitting
Attention
- Pressing done or nothing here does not save your work. You must press SUBMIT to save your work with LightTag.
- You’ll notice though, that the Submit button is not active until you have commited to each example in the task being either done or having nothing here.
- After pressing done / nothing here you will not be able to add or remove annotations
- If you mistakenly press done/nothing here You can press Keep Annotating to keep annotating.
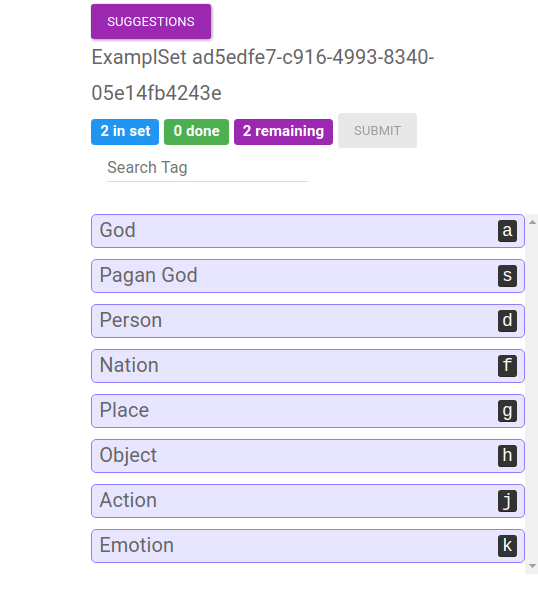
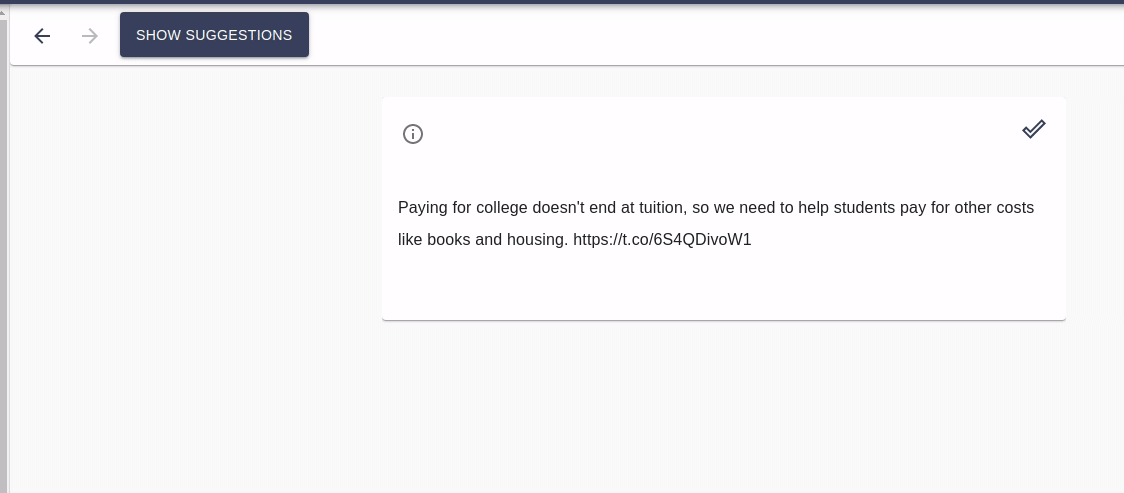
Using Suggestions
LightTag can provide suggestions to make annotation faster.
If suggestions are availble, a purple button on the top right will appear that says “SUGGESTIONS”.
Click on this button to enter suggestion mode
LightTag will highlight its suggestions and there type
Click the green “V” to accept a suggestion
Click the red “X” to reject a suggestion
If you are not sure about a suggestion ignore it
Click on the purple button again (It now says ANNOTATION) to go back to annotation mode
You will see the suggestions you accepted as annotations
Add any missing annotations and continue like before
Pressing Done and submitting