Annotating
This section introduces the annotation view, where you’ll be annotating data. This page describes what you’ll be seeing and how to to navigate it. The subsections describe the different kinds of annotations you can make and you to do so efficiently
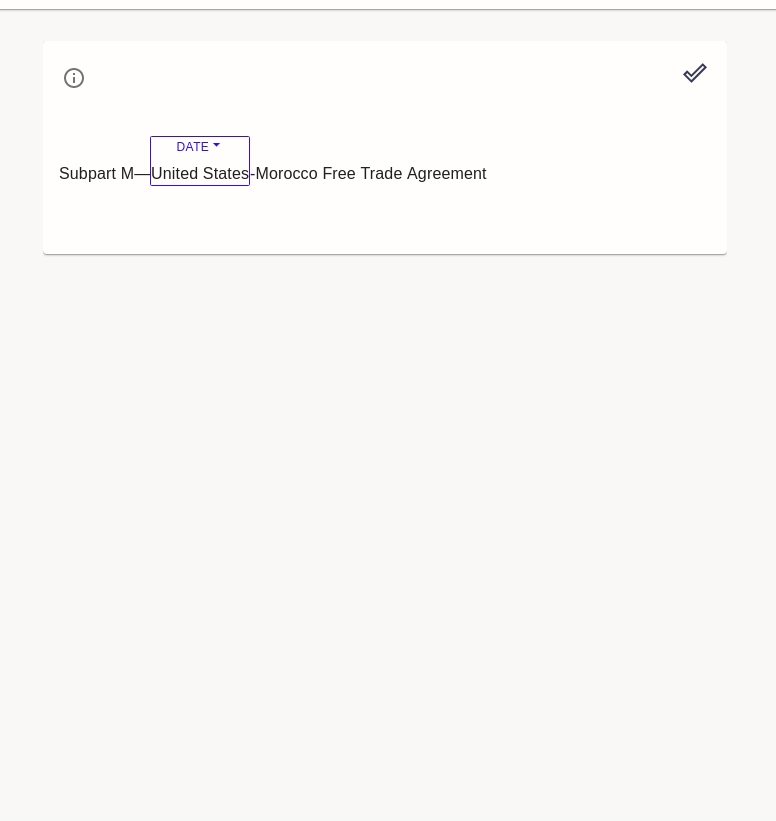
As an annotator you’ll see something like this:
Depending on how the project manager configured your work, it may look slightly different.
The Highlighted Checkmark on the right will submit your work and bring the next task to work on
In the center, you’ll see the example you are annotating and any annotations you’ve applied
If available, the “Suggestions” button will be blue indicating LightTag has suggestions for you
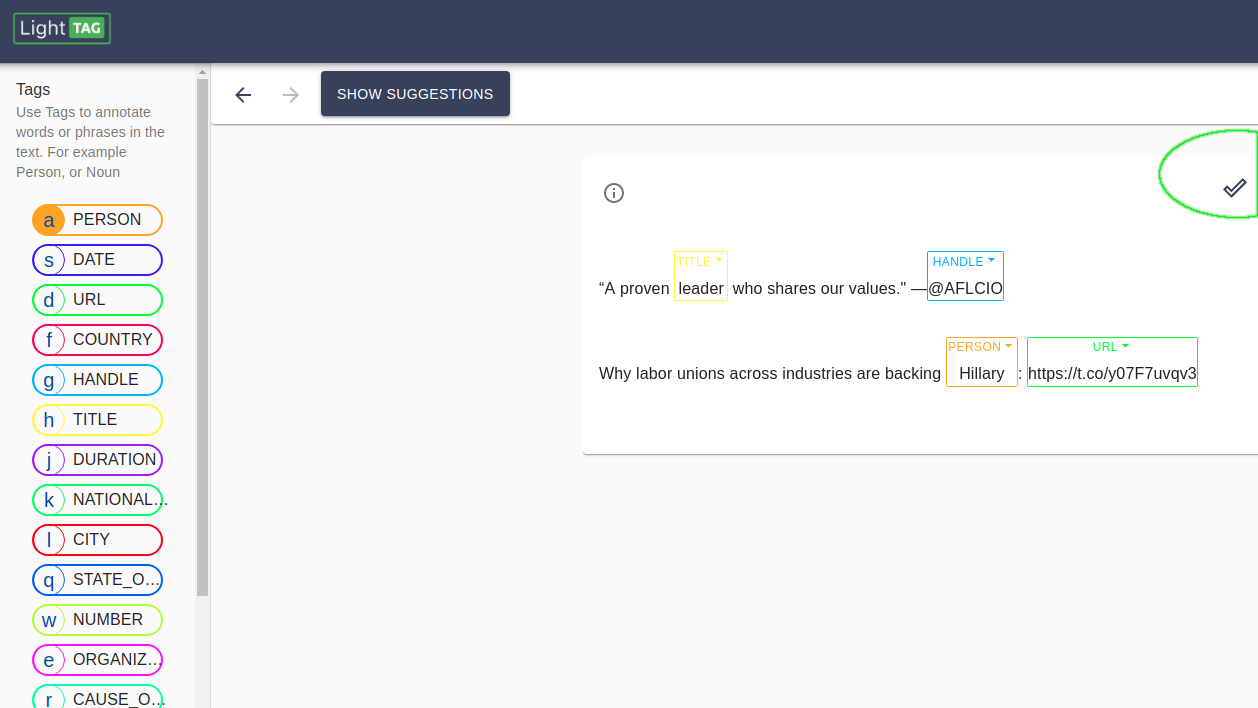
The list of Tags on the left indicates the tags you can use. The letter in each avatar indicates a keyboard shortcut
Examples
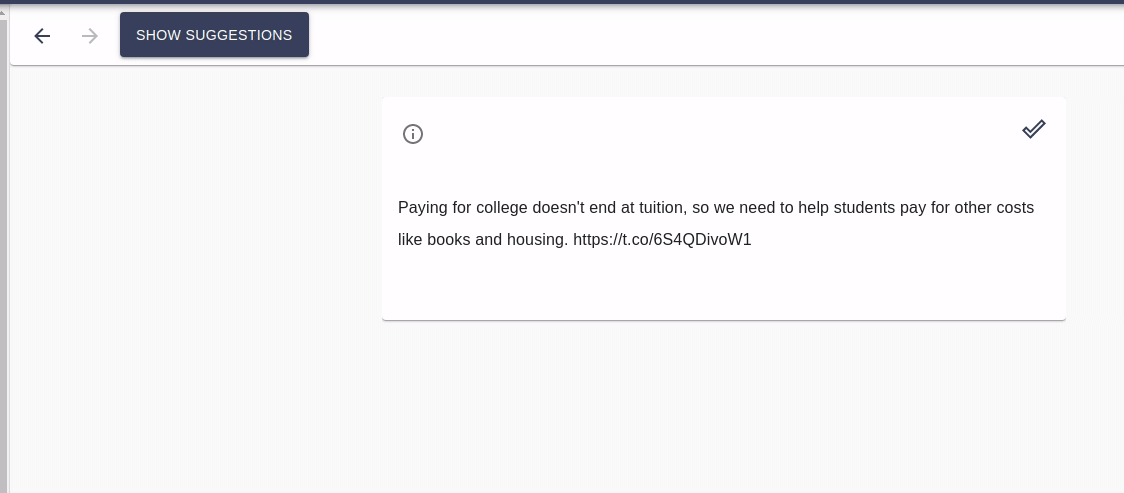
In the center of the screen you’ll see one or more Examples to be annotated.
Concepts Sidebar
The Concept Sidebar will show the list of Tags (for span annotation) and or Classes (for Classification) that you can use
Guidelines
The Guidelines button on the top right will show you guidelines your manager provided if they have
Submitting Work
Single Example
In Single Example mode, where there is one example displayed at a time, clicking the checkmark on the example will submit your work and bring you to the next task
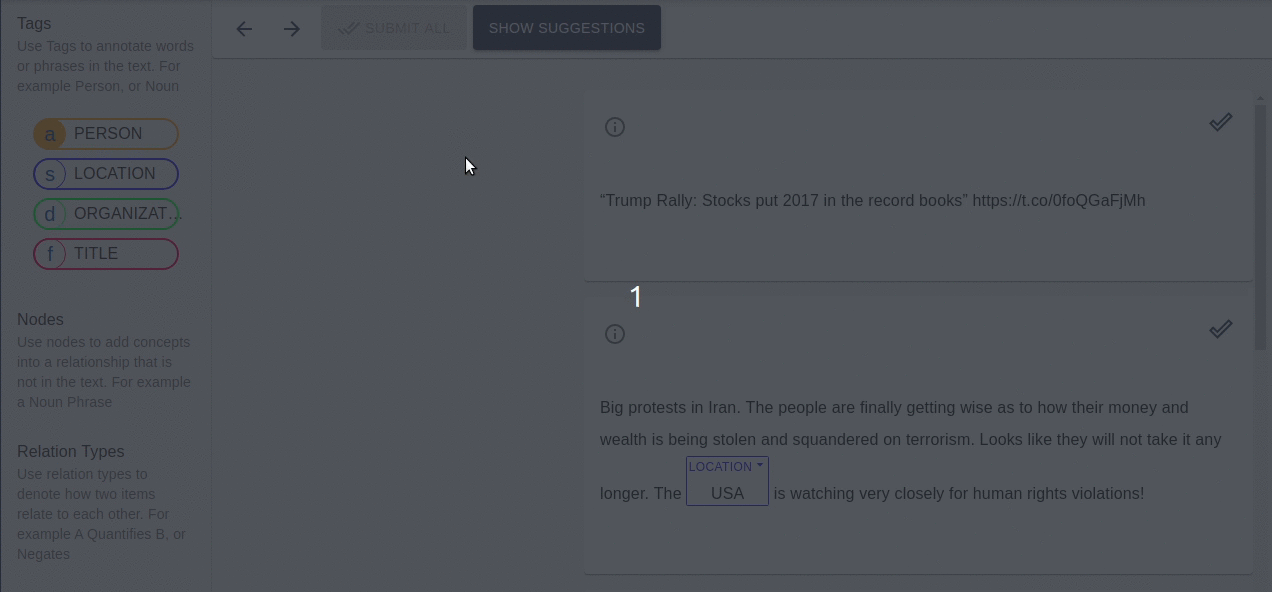
Multi Example Mode
In Multi Example mode, each checkmark is a commitment that you’ve evaluated that example. Once you’ve committed to all examples, the Submit All button will be active on the top left.
Changing A Tag that was Applied
You can change an applied tag by clicking on the header and selecting a different option