Quick start
We’re Going to set up a basic annotation project in LightTag. You should already have the data you want to label, and the Schema (the tags and classes you want to use). If you don’t, LightTag has some baked in so you can follow along. Just follow these steps.
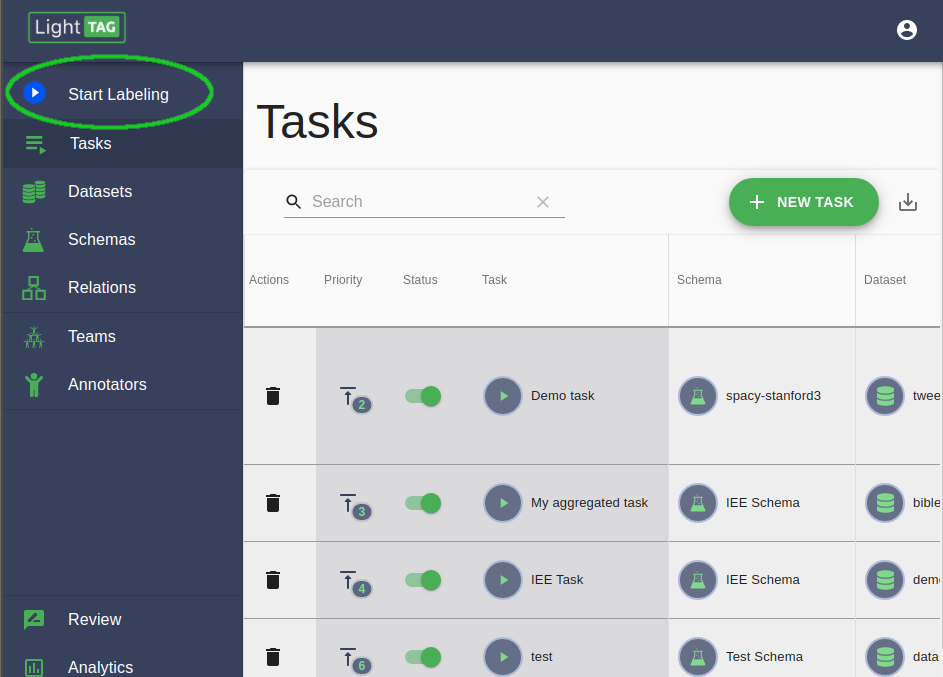
1. Go to The Tasks Section of the Management Console
The Management Console is always available to a manager user. If your the first user in your workspace you are the manager, otherwise ask the manager to promote you.
Open the Task section of the LightTag Management console. That’s the first green button on the left
2. Click Add New Task
LightTag manages the work you and your team will be doing. You need to define that work which is what we’ll do here
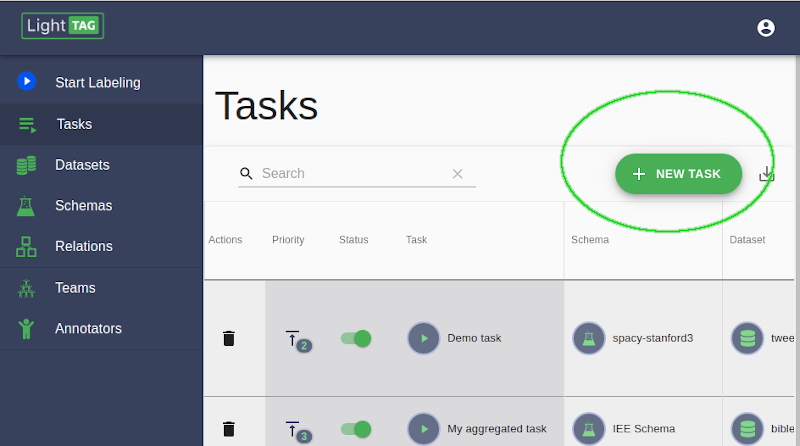
Click the Add New Task Button on the top right
3. Give Your Task a name
Each task in LightTag must have a unique name. Be descriptive, it will help you keep track of what you are doing.
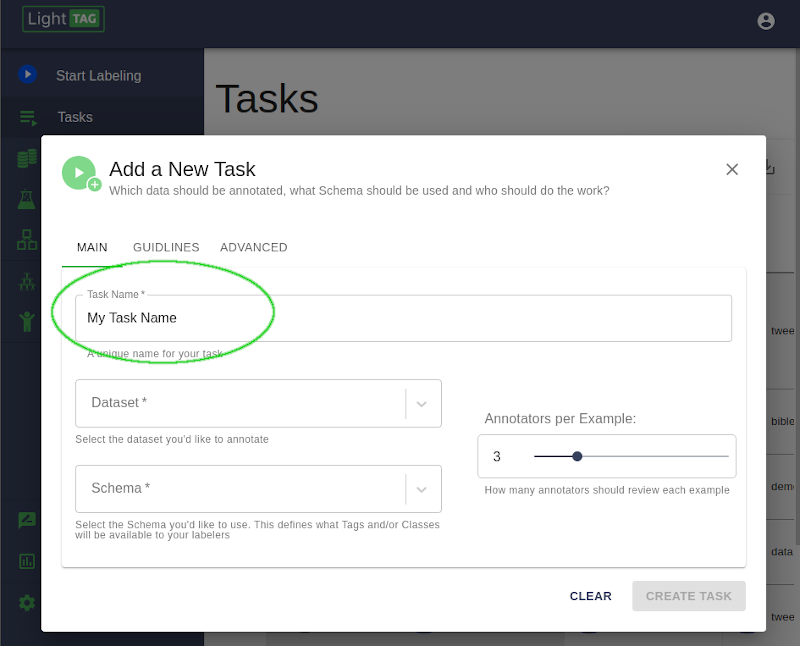
Give your task a unique name. Be descriptive.
4. Upload a Dataset
You’ll have to upload data to label it. LightTag stores collections of data in a Dataset which you will upload and configure now. .. figure:: ./img/vq/addDataset.png
5. Define A Schema
Schemas contain the concepts you will be annotating with. .. figure:: ./img/vq/addSchema.png
Select an existing Schema or define a new one. See the Schemas: section for schema configuration options
6. Create The Task
Now that we have a dataset and schema defined, let’s save it to the server. .. figure:: ./img/vq/createTask.png
Press the Create Task button.